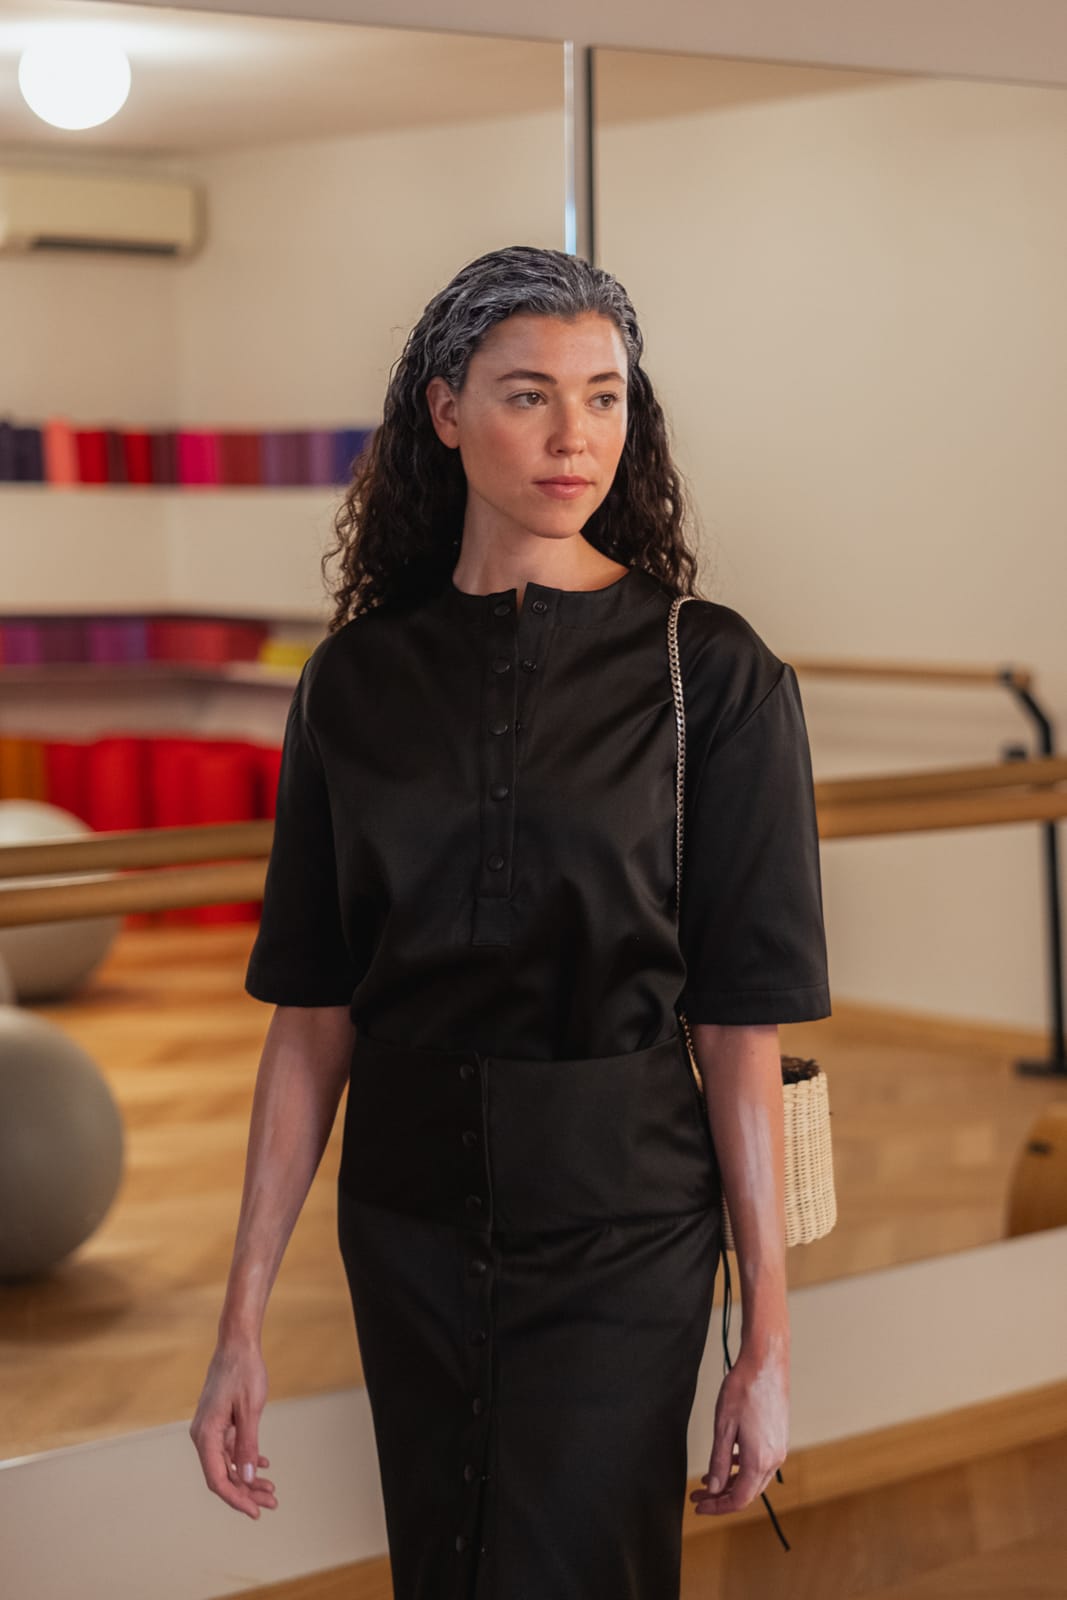
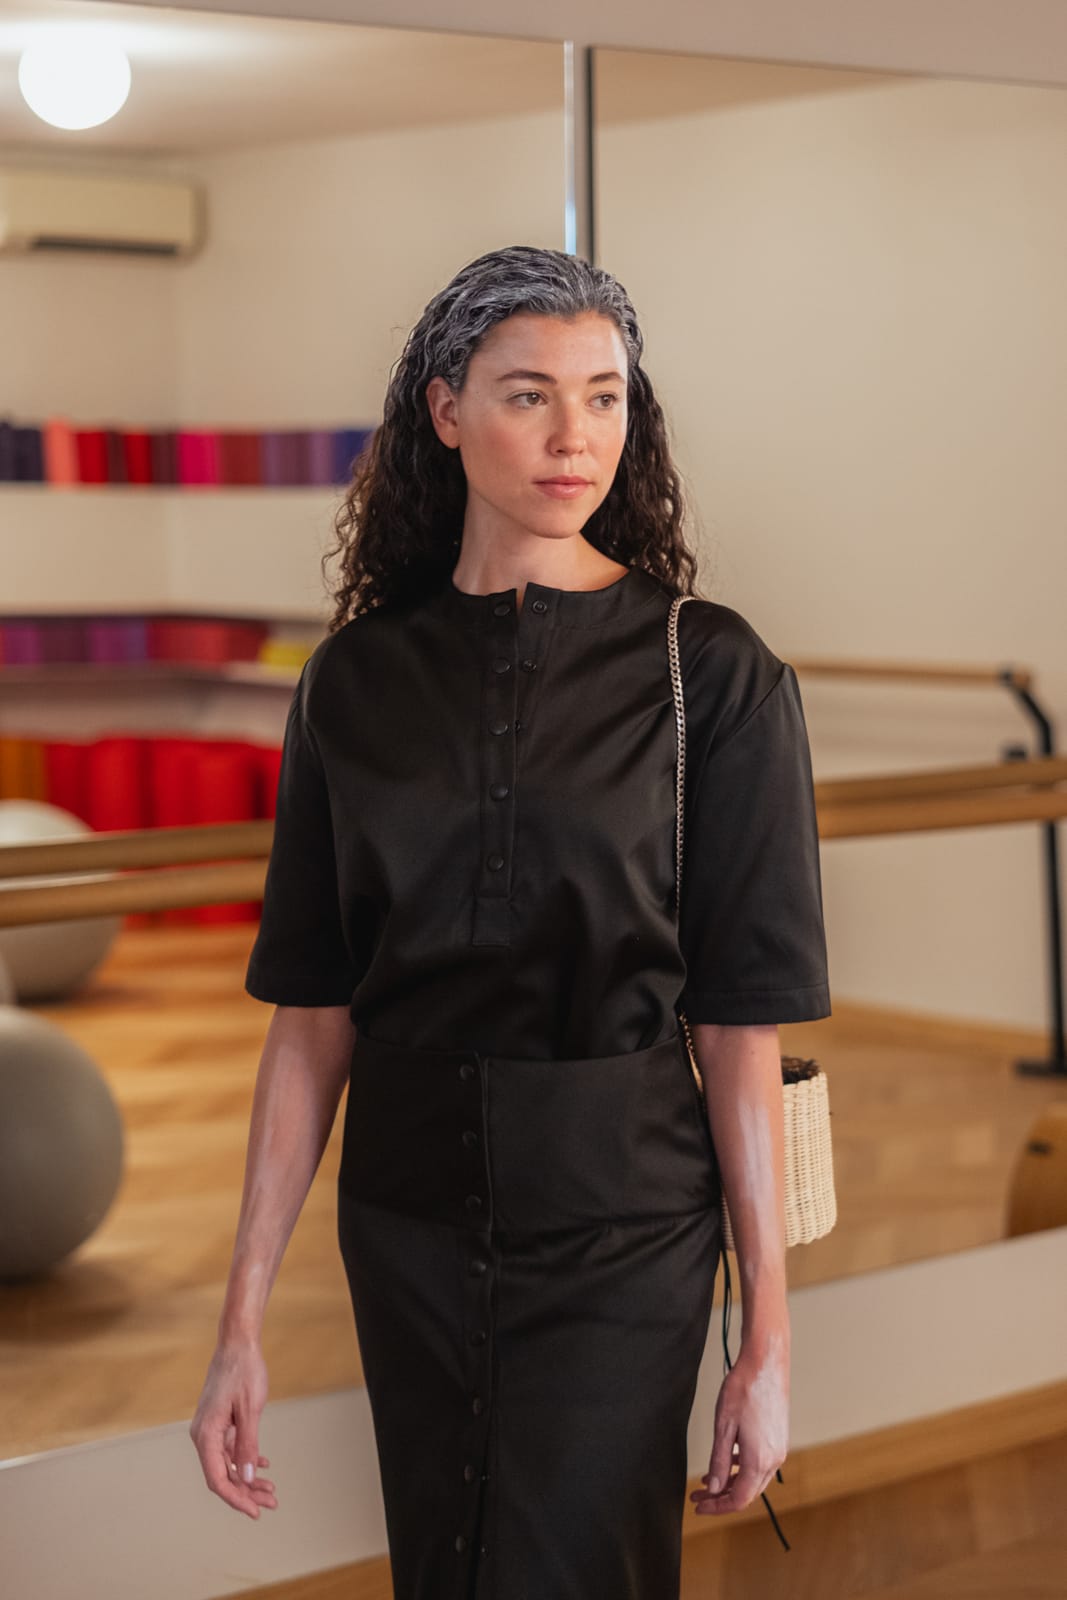
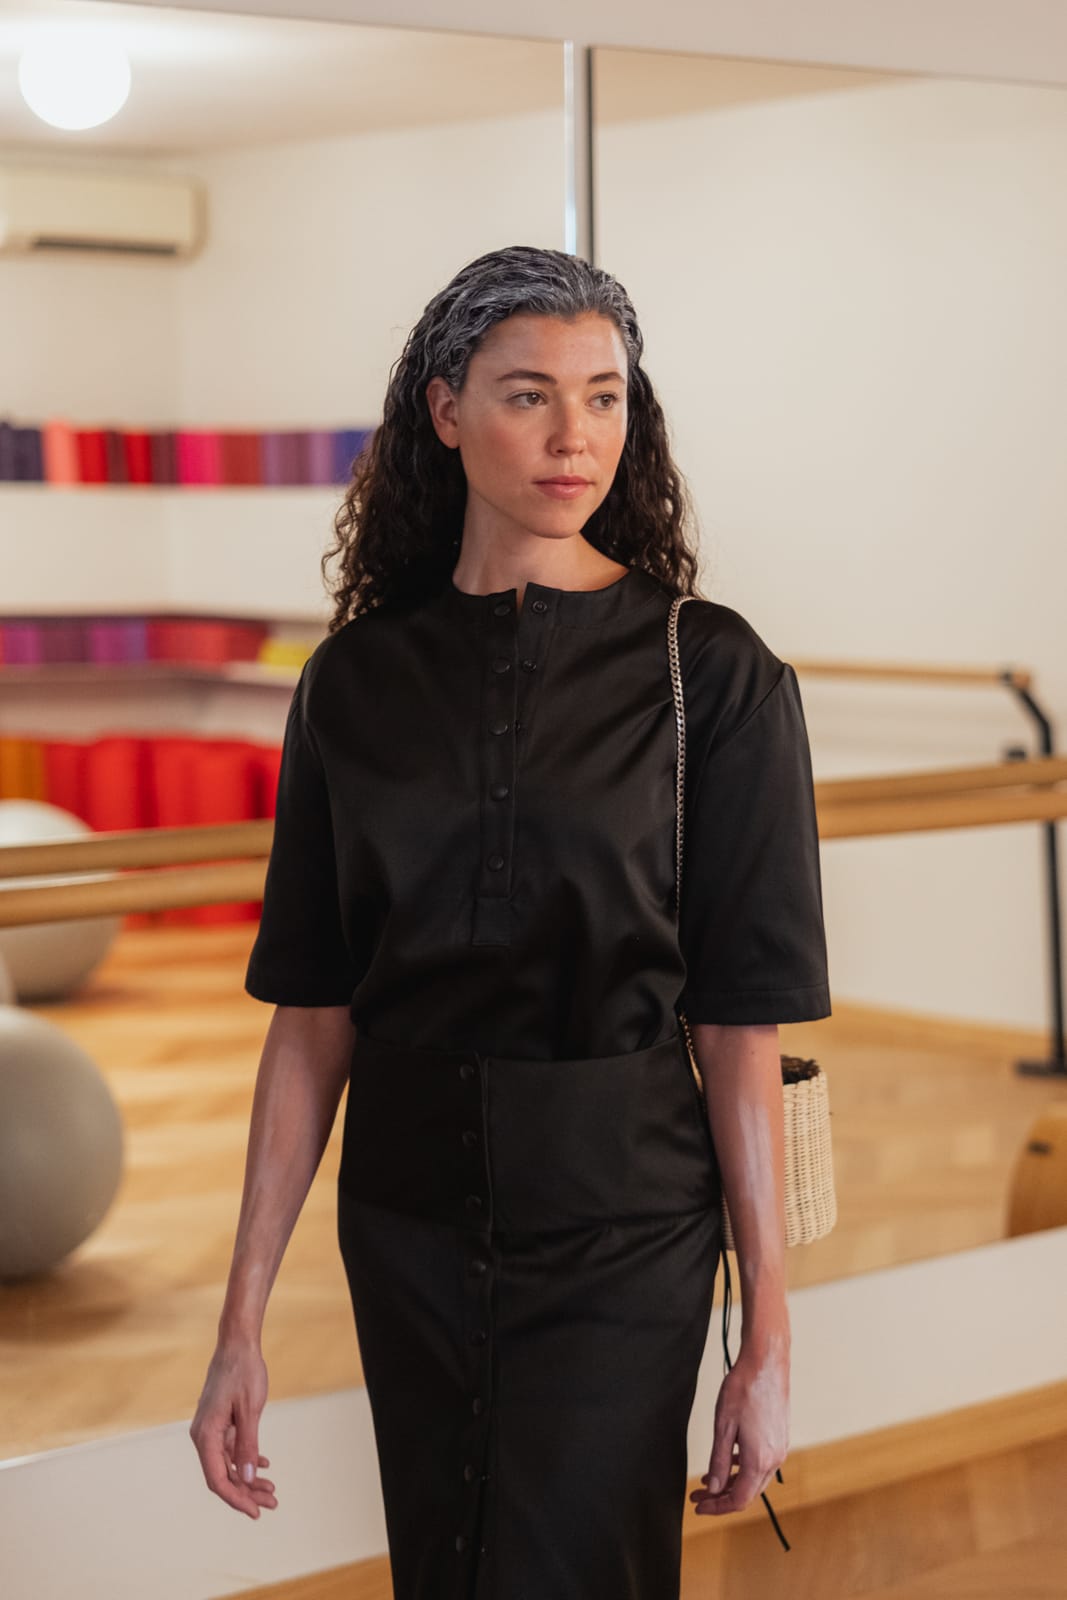
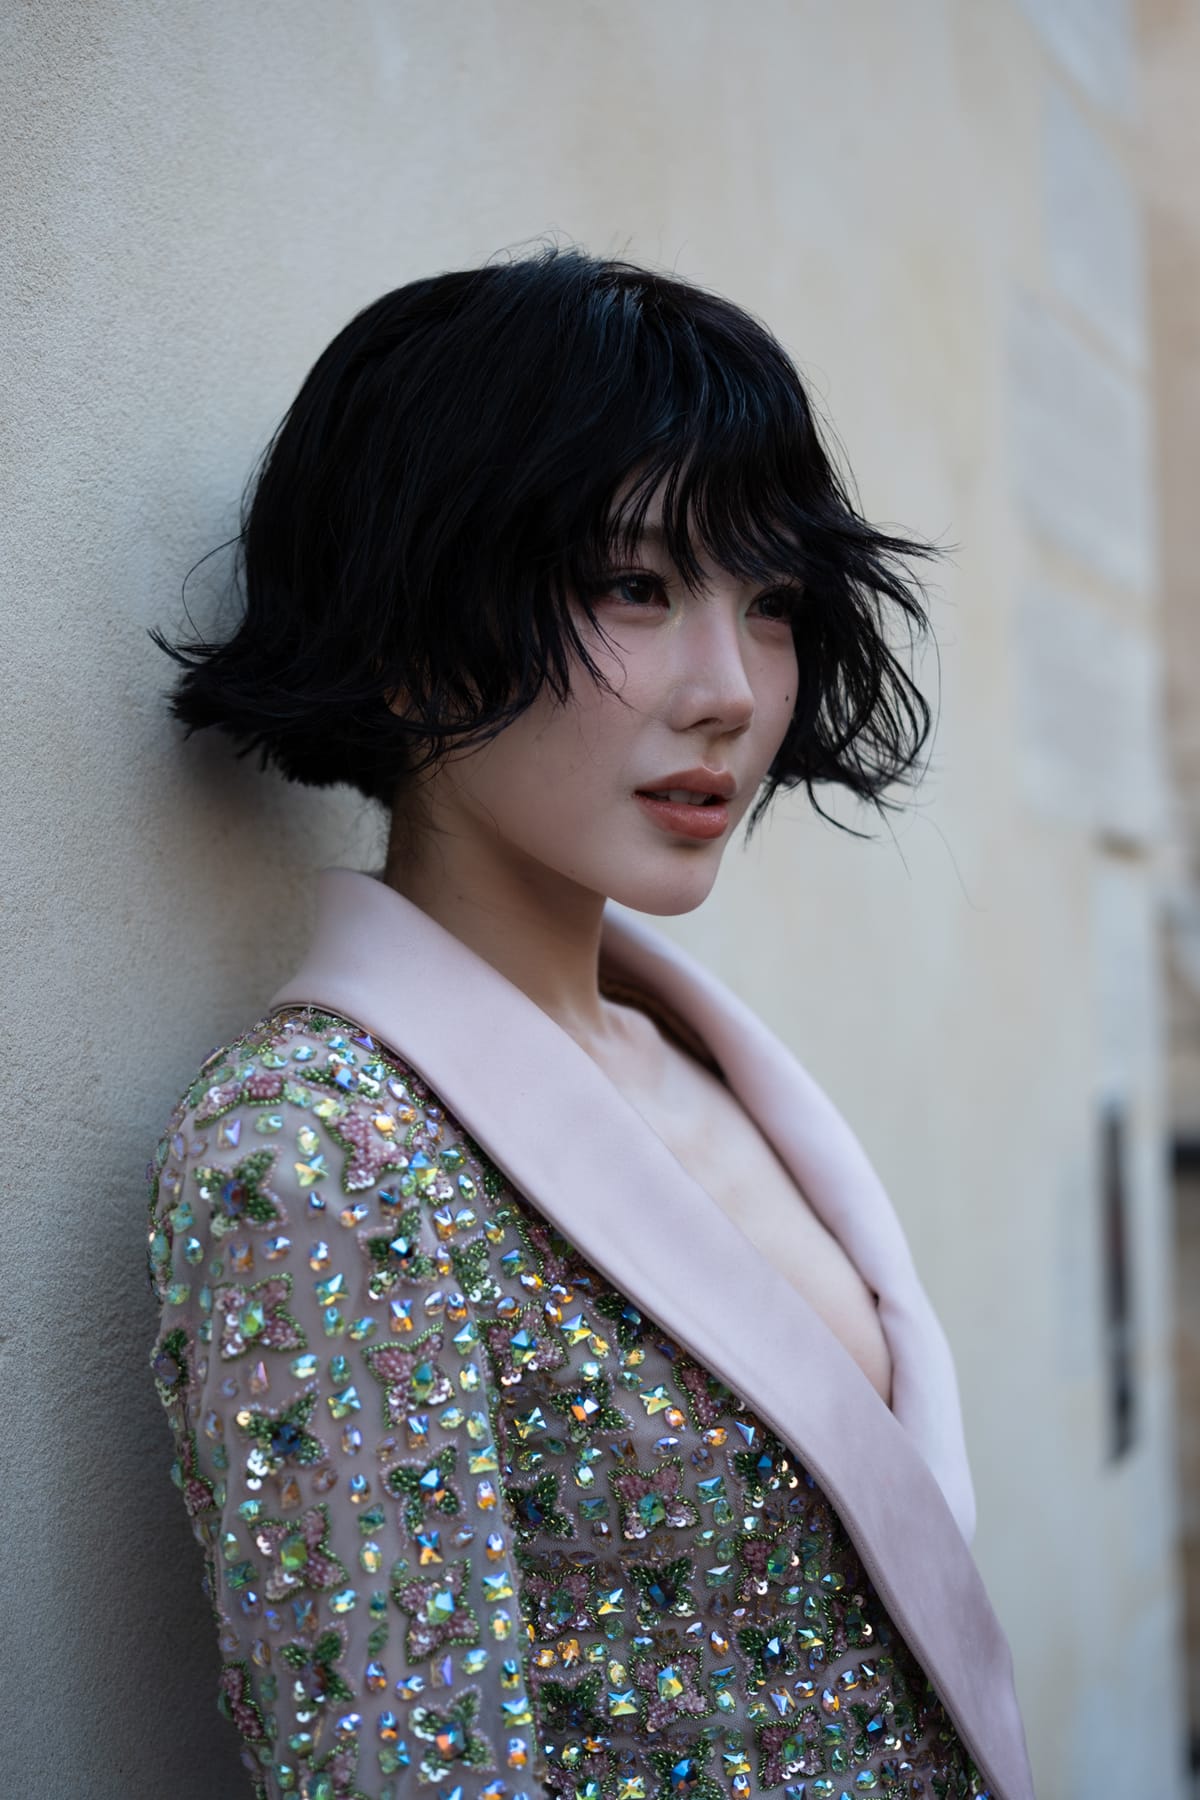
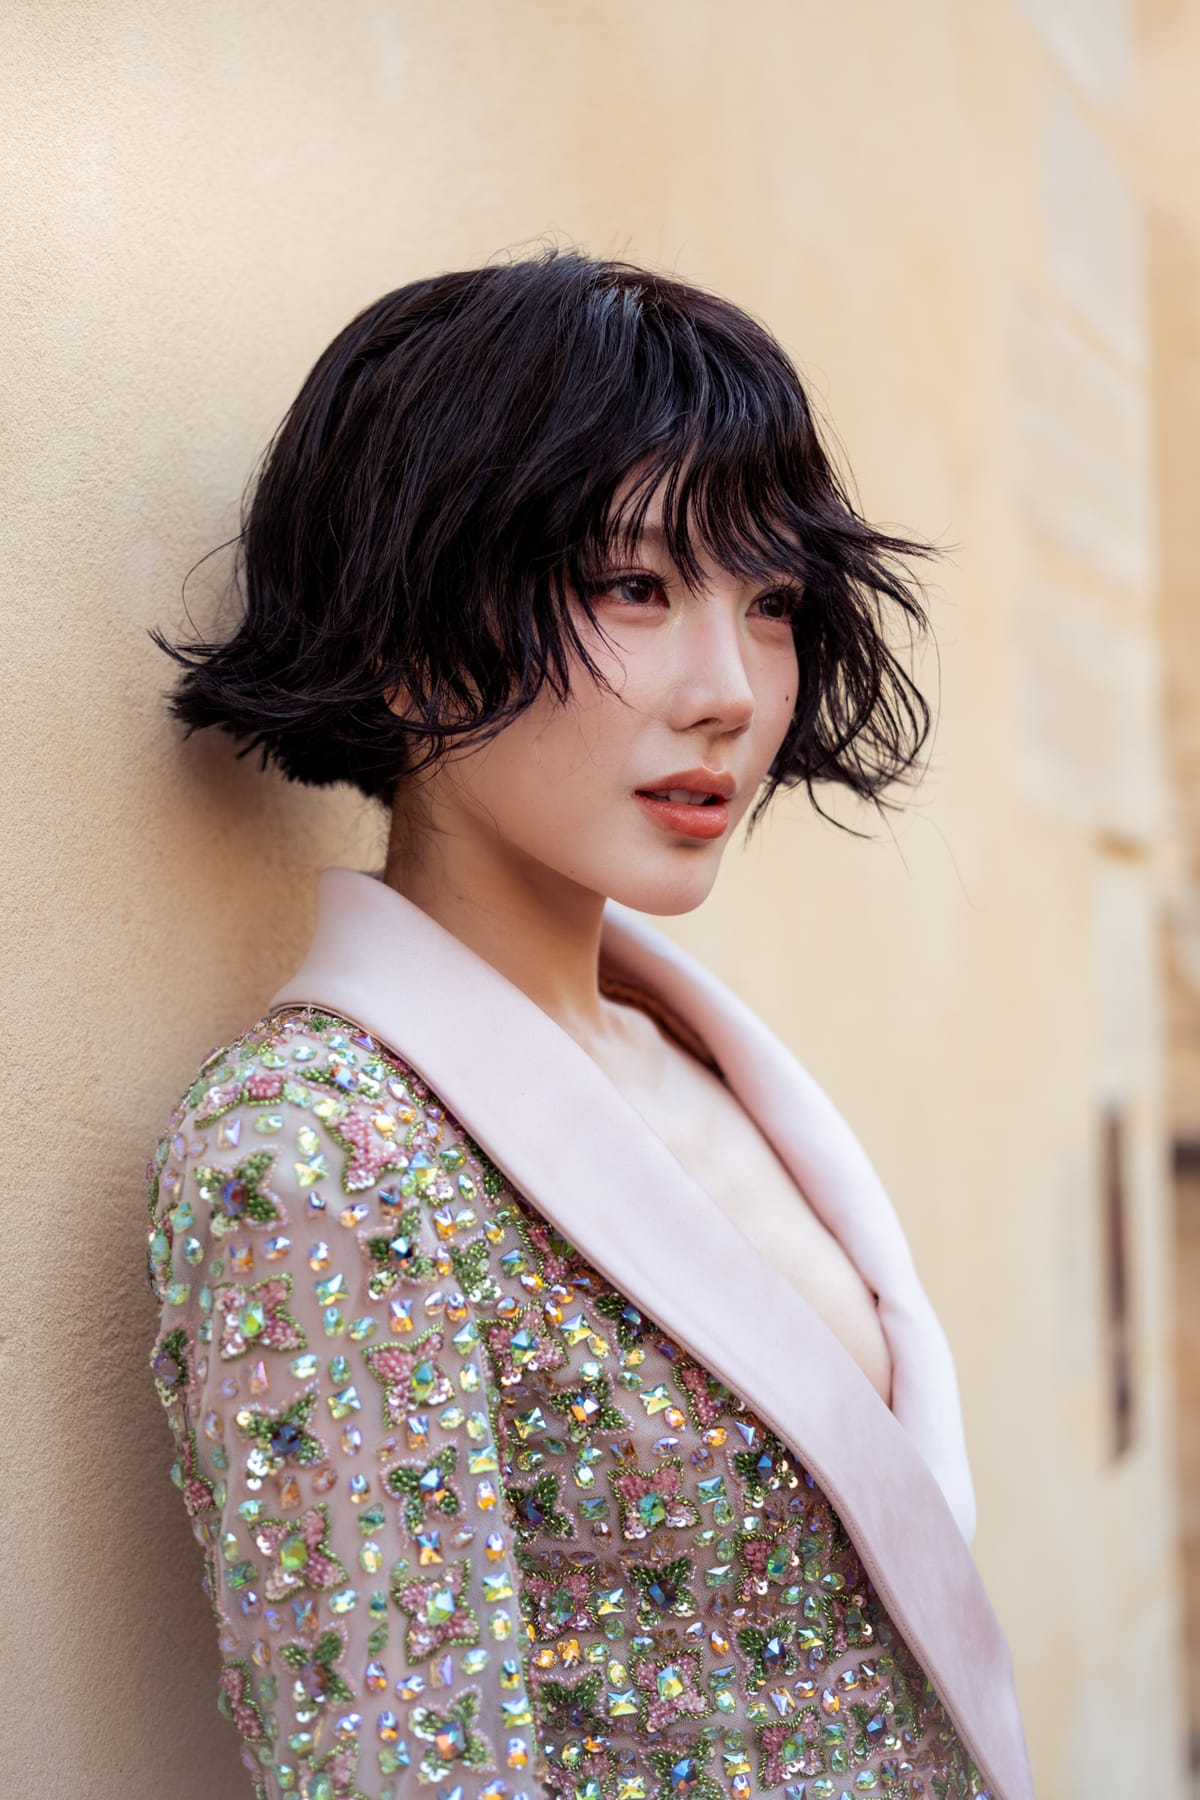
28 presets

Signature + Adaptive

39 €49 €Launch offer

The whole set. The tools and the grades, the way I actually work.

Both packs together, in the order I use them. The adaptive ones go first: they set the weight of what is inside the frame, a background that steps back, a subject that comes forward, skin with its colour cast taken out. The signature ones come after and lay the colour on top. Separately each does half the work. Together they are the whole chain, and it is the chain behind every image on this site.

The same file, before and after

Stack the presets

Tick to add, untick to remove.
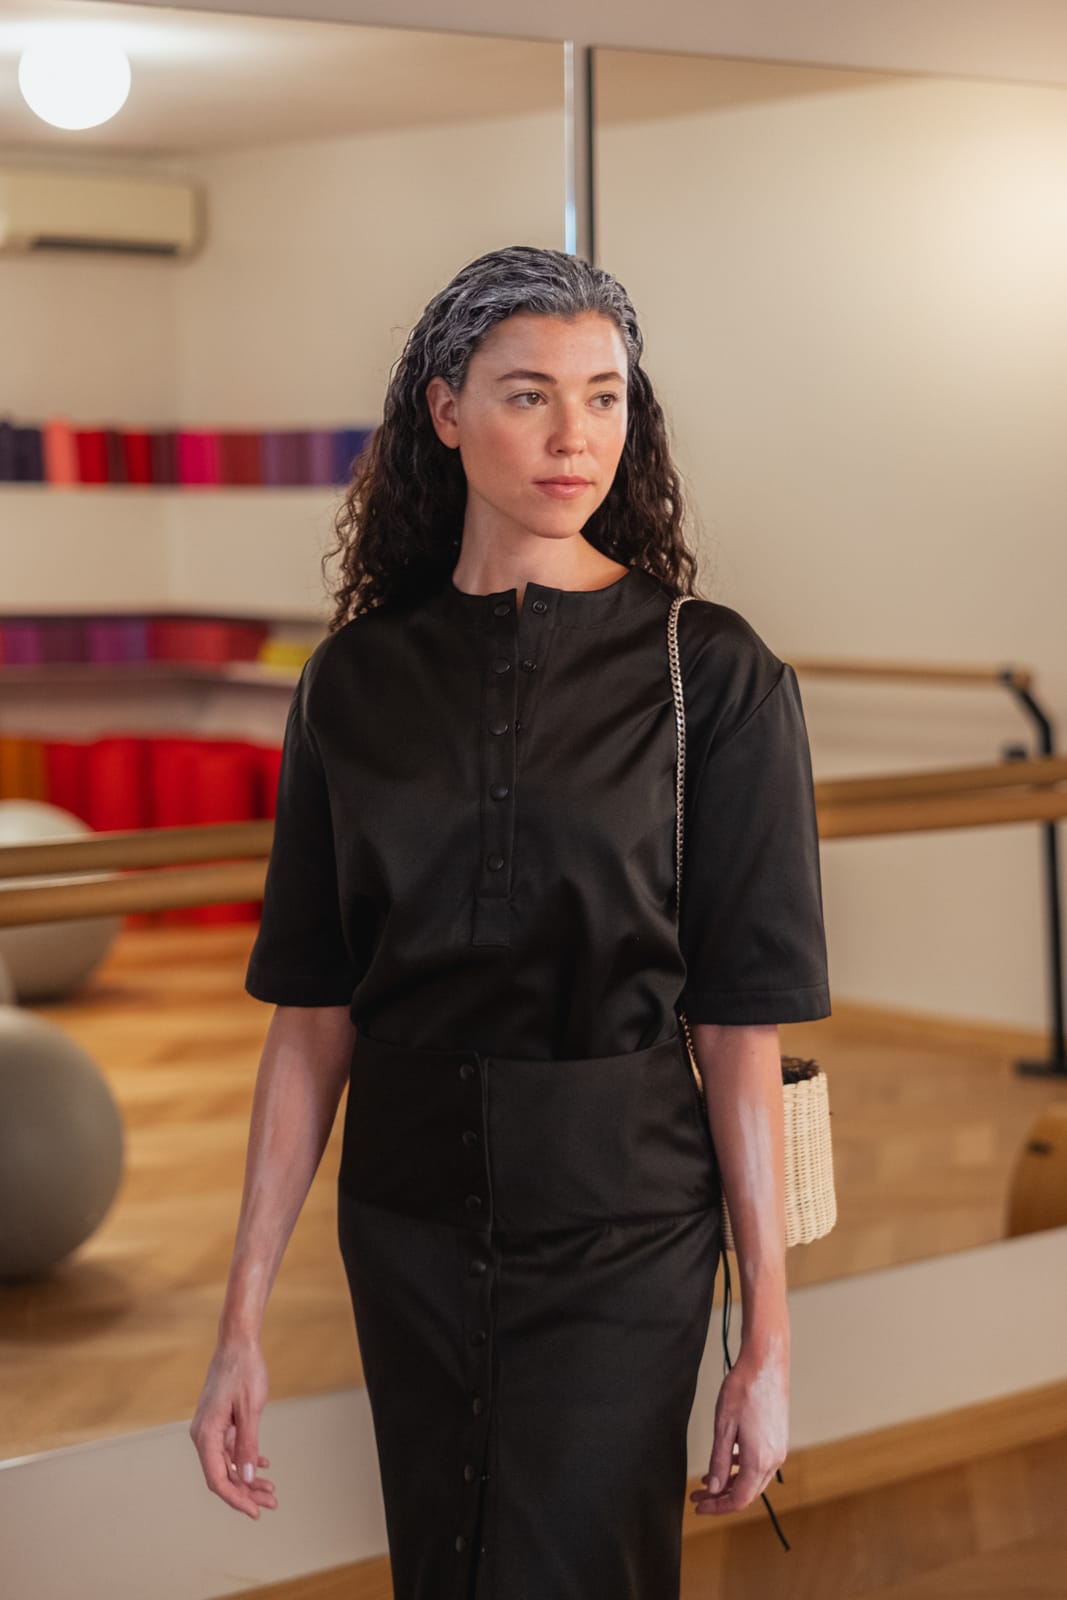
After, SM_Adaptive Sun
Raw file
Raw fileSM_Adaptive Sun
After, SM_WarmEdito
Before
BeforeAfter
SM_WarmEdito

The questions I get asked

In which order do I use them?
Adaptive first, signature after. The adaptive presets are local corrections: they leave the overall colour alone, so they sit under any grade. The signature ones come on top and give the colour. Reverse the order and nothing breaks, but you will be judging colour on an image whose weight is not sorted yet, and you will correct twice.
Which version of Lightroom do I need?
Read this one before buying. Adaptive presets need a version with AI masking. These were built on Camera Raw 15.5, and that is the floor. In an older version they will install without any error message and do nothing at all, because the mask is never computed. If you are unsure, check your version first.
Are these one click edits?
No, and claiming otherwise would be a lie. On some frames it is enough and the image is simply there. But every photograph arrives with its own light and asks for its own treatment. A preset does not replace editing, it comes after it. What it gives you is a direction, a colour, an atmosphere that ends up being yours. That is exactly how I use them on my own images.
What do they actually do to a picture?
They redirect the eye. Four of them work on the background: deepen it, desaturate it, soften it, so it stops fighting the subject. Two lift the subject itself. Four handle the sky, two by temperature and two by tone. Three take a colour cast out of skin, and one gives hair its depth back. Put end to end, that is a whole retouching pass that used to be done by hand, mask by mask, on every single frame.
Why are three of them called Grade?
Because those three come second, not first. The order is: you do your basic edit, exposure, blacks, whites, highlights, until the image is correctly exposed. Then you apply the Grade. It leaves the whole light panel alone, on purpose, so nothing you just did gets undone. It only works on the colour. Applied to a raw file straight out of the camera you will barely see it, and that is not a fault.
Are these a look?
No, and that is the point. They are corrections. They deepen a background, recover a blown sky, take a green cast out of skin. They leave the overall colour of your image alone, so they sit under any grade, including one that is not mine.
What are they good for?
Fashion, portrait, street and night. They were built on those. On landscape or on food they will need real work on top.
Can I make it stronger or softer?
Yes. Every preset arrives at 100%, and Lightroom lets you set that amount anywhere from 0 to 200%. The values were calculated to leave the widest possible margin on both sides: at 50% the effect still reads, at 150% it does not break. In the example on this page, Subject Lift sits at 150% because the frame needed it.
How do I install them?
In Lightroom or Camera Raw, open the Presets panel, click the three dots and choose Import Profiles and Presets, then point it at the zip. The software handles the rest, there is nothing to unzip. If your version has no import button, unzip it and drop the folder into Lightroom's presets directory: the exact path depends on your system and one search will give it to you. On mobile, install on the desktop first and they sync on their own.
Where do they show up?
In a folder of their own, under User Presets: SM_Signature for one pack, SM_Adaptive for the other. They never mix with yours. To move them or take them out, you move or delete the whole folder, in one go.
What file type do I get?
XMP presets, plus a PDF guide covering installation in Lightroom Classic, Lightroom desktop, Lightroom mobile and Camera Raw.
Can I use these commercially?
Yes, on personal and commercial work, with no limit. What you may not do is resell, share or redistribute the files, modified or not.
Can I modify them?
Please do. Take them apart, see how they are built, change what does not suit you. That is the fastest way to find your own way of editing.
Refunds?
Digital files are delivered instantly, so there are no refunds. But if something does not work, write to me and we will sort it out.
← Back to the shop